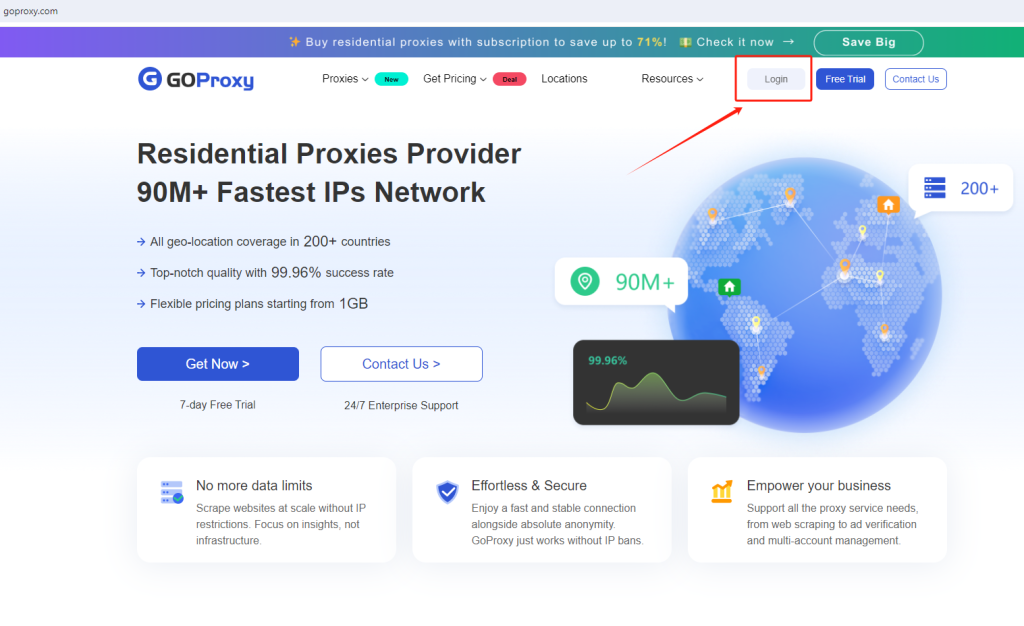
Step 1: Login to GoProxy and enter the dashboard
Step 2: Obtain Proxy Credentials
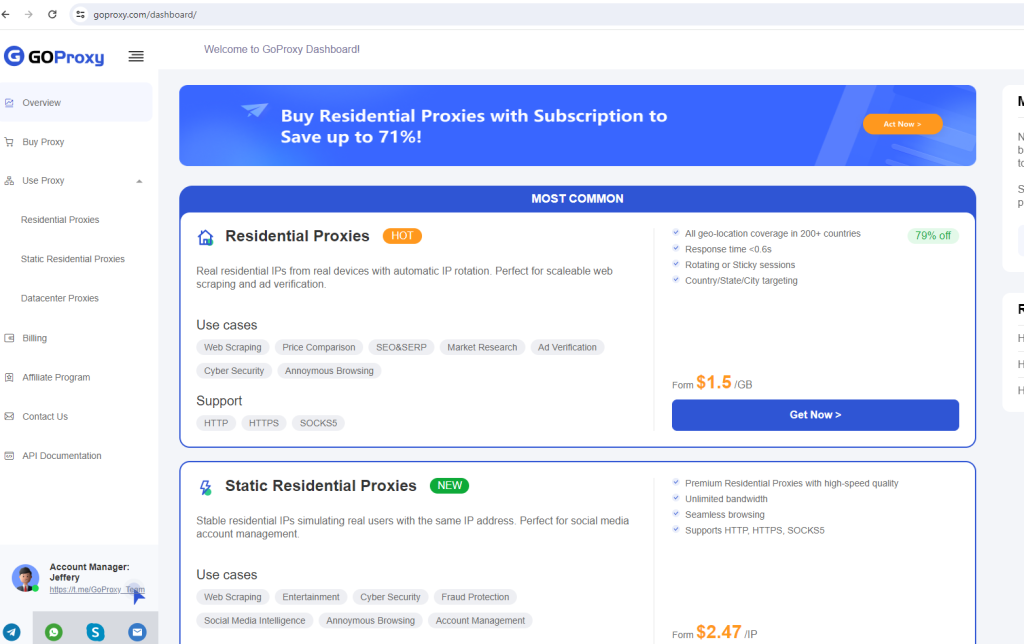
1. Head over to GoProxy (or your chosen proxy provider) and sign up for a free trial or purchase a plan.This will provide you with unique proxy credentials (typically an IP address and port number).
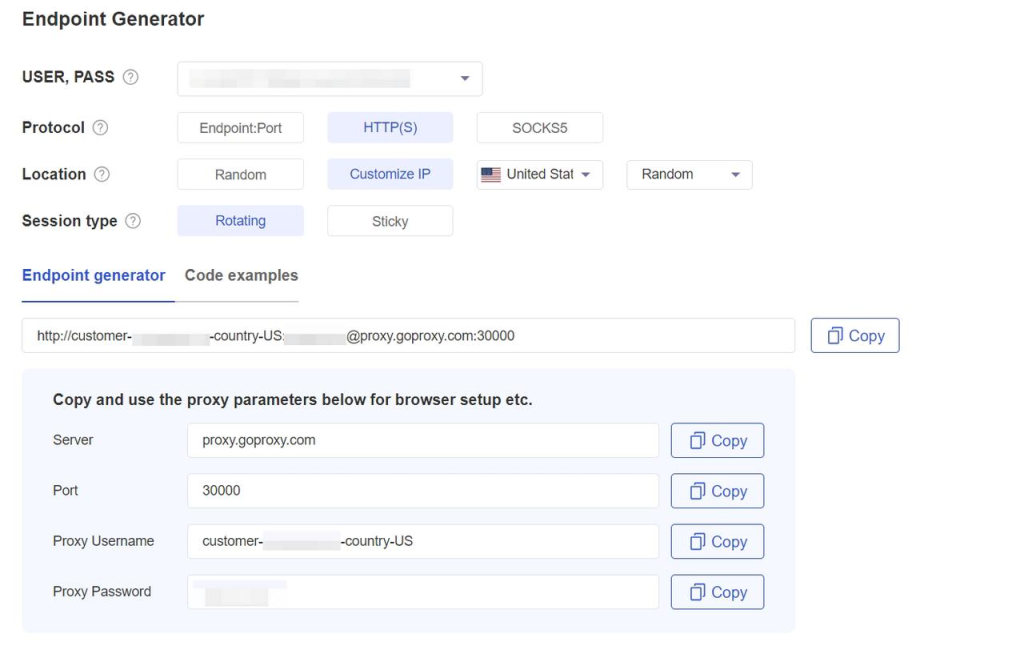
2. Depending on the type of proxies, the IP address and port are different. See details in the following table.
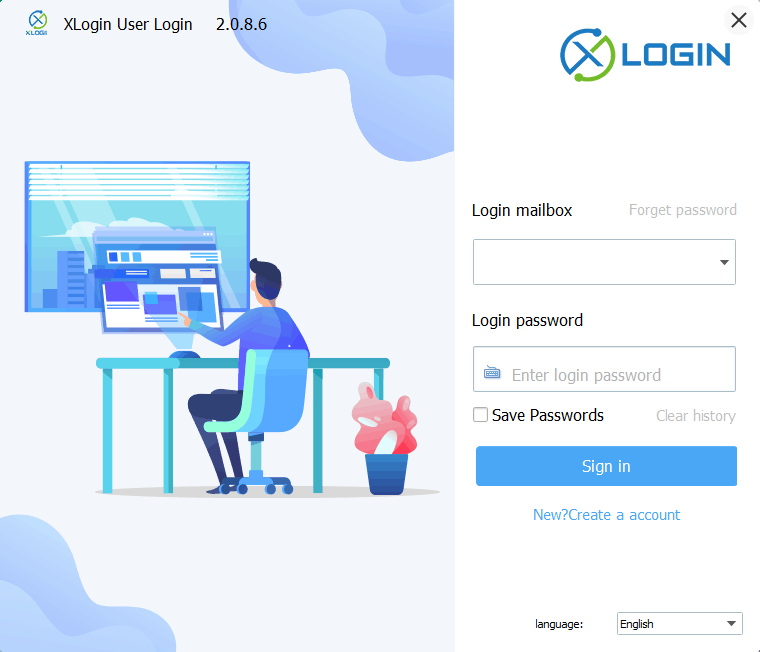
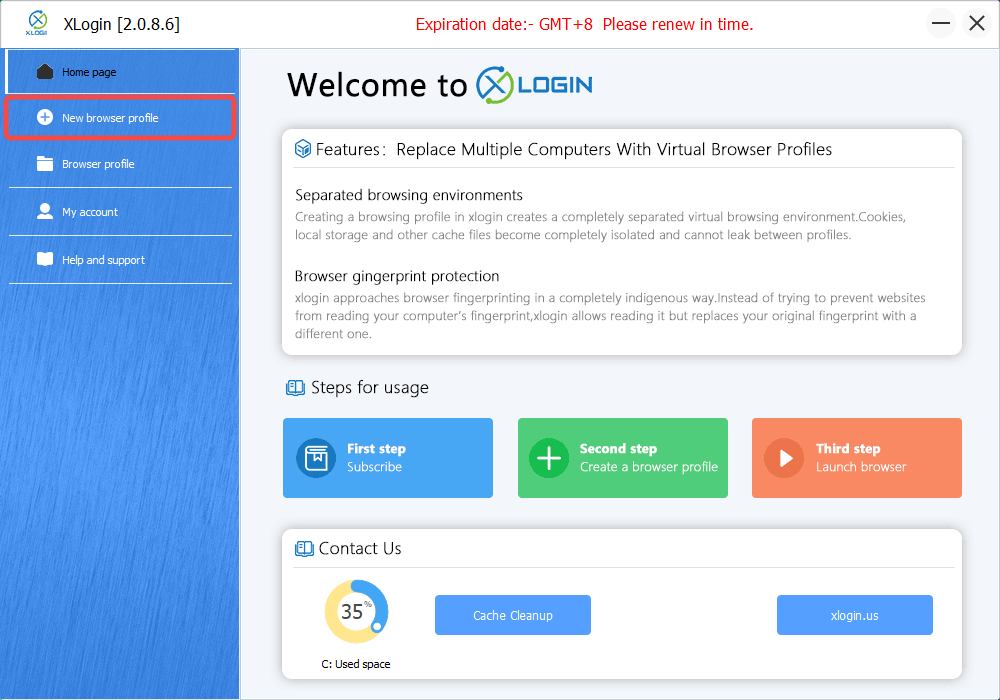
Step 3: Install XLogin software and then register your XLogin account (Support Free Trial).
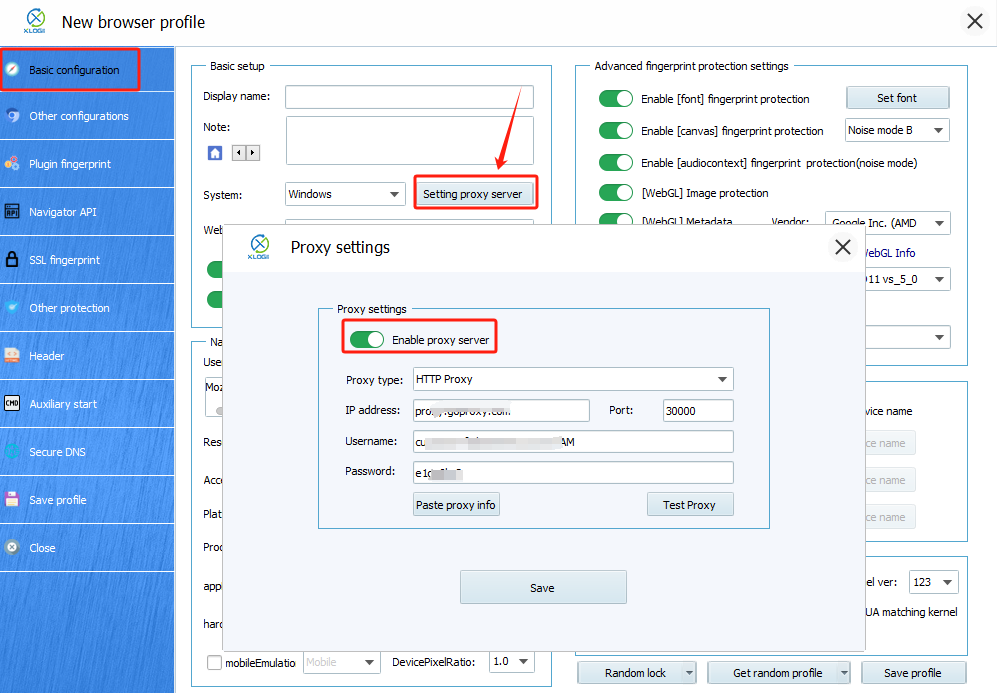
Step 4: Setting Up XLogin Profile
1. Create a new browser profile, click "New Browser Profile" on the XLogin home page. Then customize your profile settings.
Step 5: Set Up a Proxy
1. Locate the "Setting proxy server" section, click on the option to "Enable Proxy Server".
2. Enter your GoProxy credentials (Proxy type, IP address, Port, Username, Password) in the designated fields.
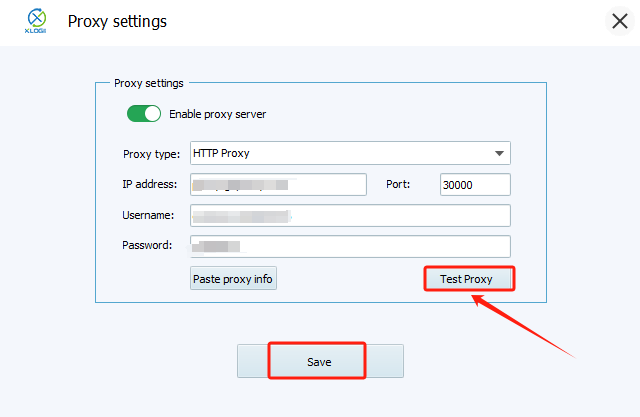
Step 6: Test and Save
Click on "Test Proxy" to ensure the connection is functioning properly. Once satisfied with the test results (or if you choose not to test), click on "Save" to apply the proxy settings to your XLogin profile.

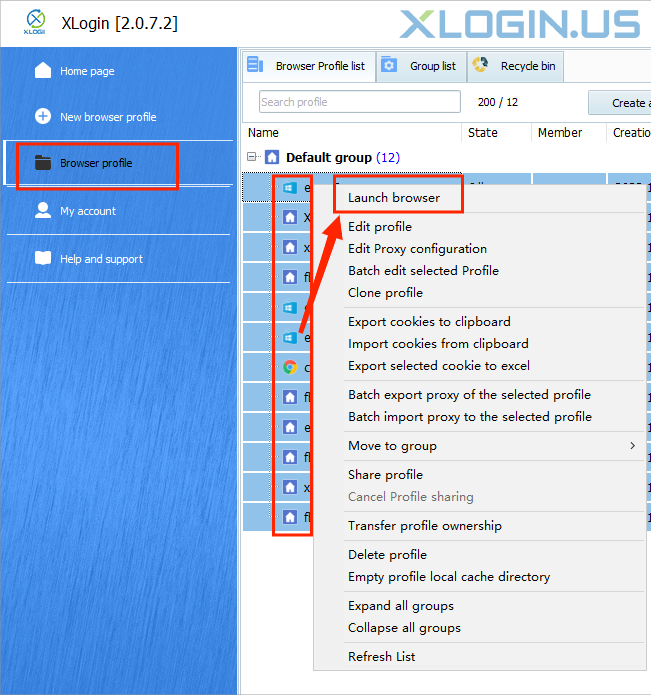
Step 7: Launch and Manage Your XLogin Browsers
Note: XLogin browser software itself has no proxy IP service, users need to purchase proxy IP from a third party. Third-party platforms provide proxy-related tutorials and are not related to the XLogin. Users are strictly prohibited from using XLogin to engage in any illegal and criminal activities, and users are responsible for the relevant responsibilities caused by using XLogin.