Step 1. Registration
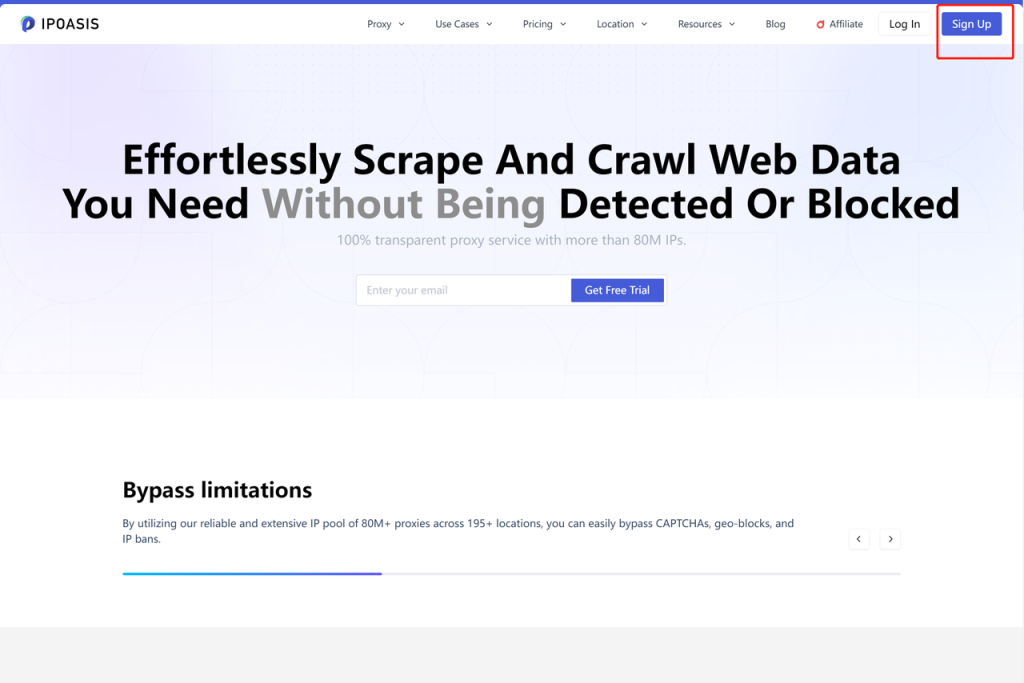
1. Create an account to start working on IPOasis. Click "Sign Up" located at the top right corner.
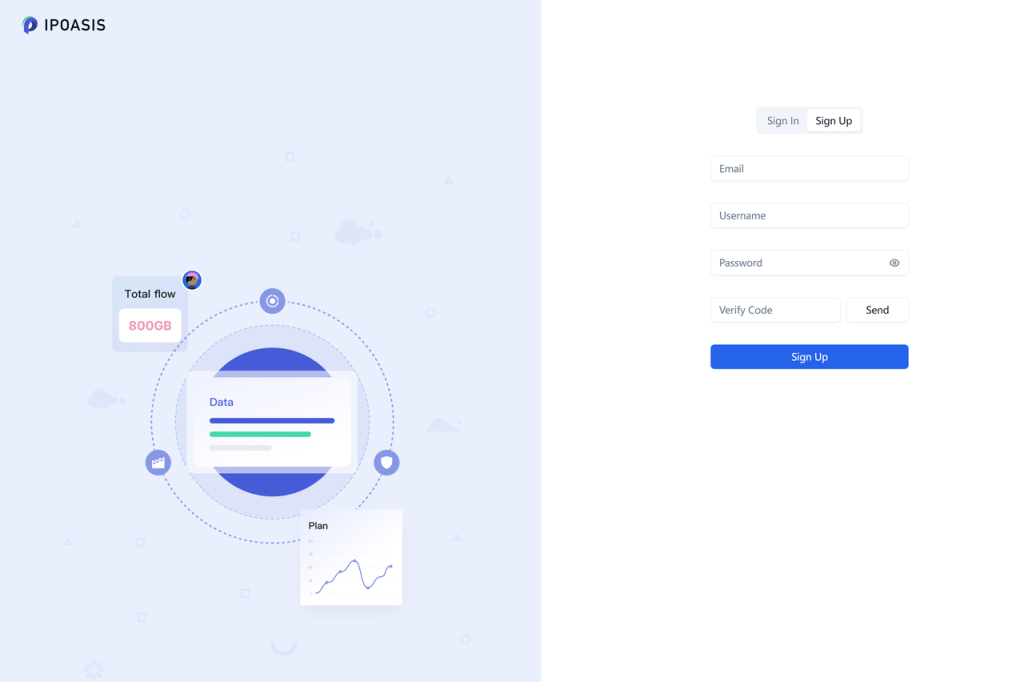
2. Here you will be asked to input some of your personal data: e-mail, username and password.Then click "Send" and you will receive an email with verification code shortly. Then enter the verification code and click "Sign Up".
Step 2. Purchasing proxies
1. After registration is completed, log in to your account using your email and password and enter the dashboard.
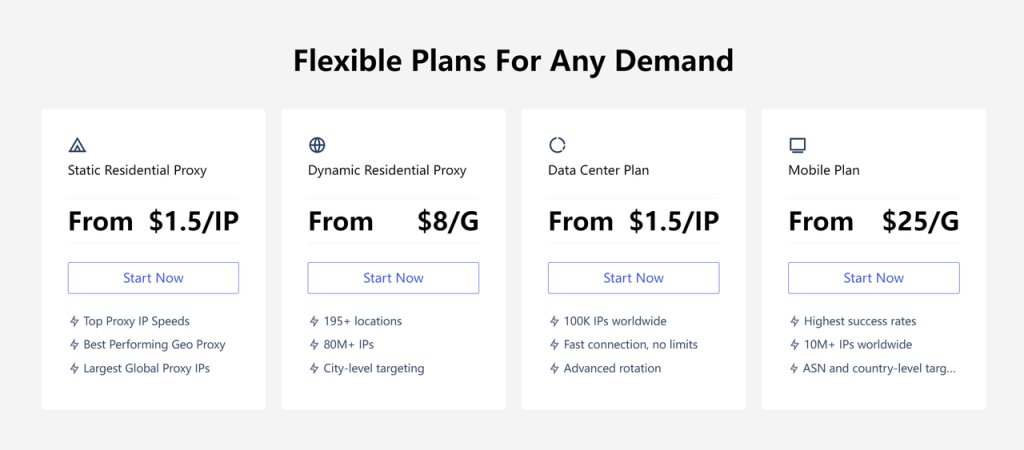
Click on the proxy type you want to purchase in the left menu like "Dynamic Plan".Here you can buy proxies by clicking "Buy Now".
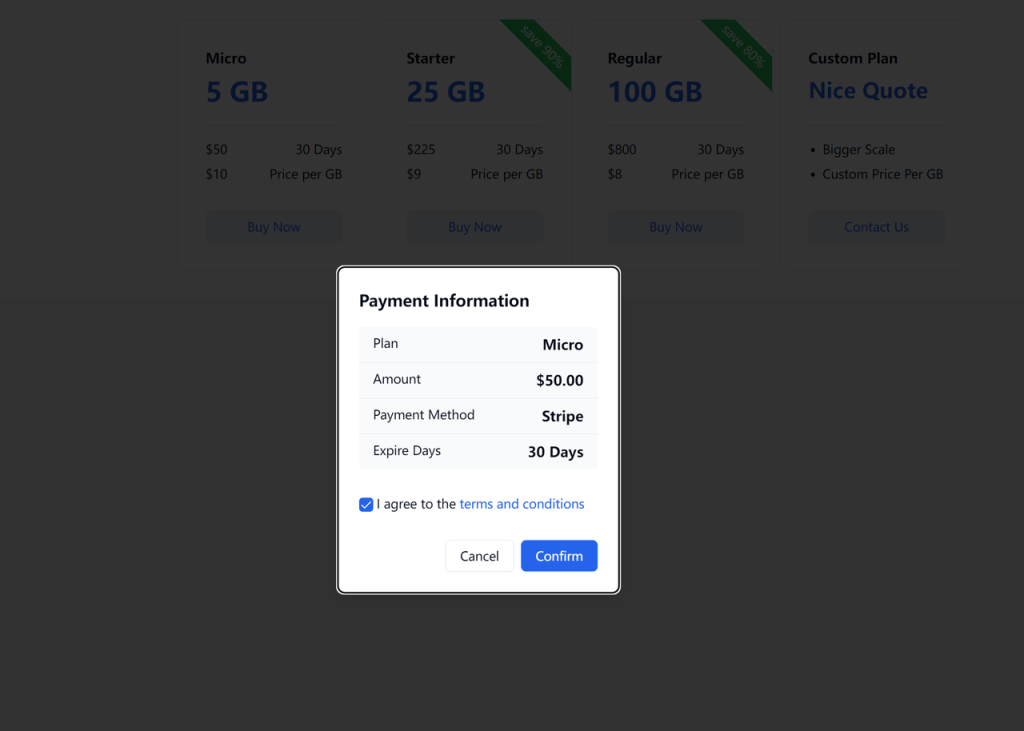
2. Then you have to confirm Payment Information and then click "Confirm".
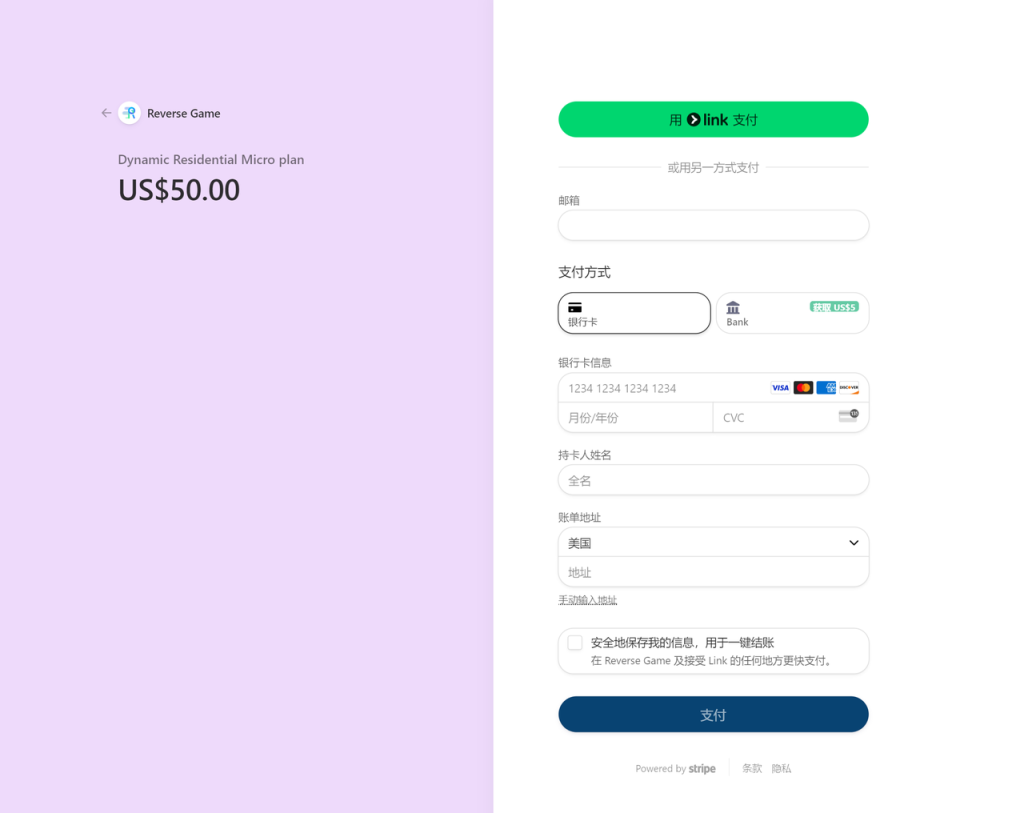
3. Here you can choose to pay with link, credit card or Bank. Fill in the necessary information, such as email address, credit card number, cardholder name, etc.You can get US$5 cashback when you pay with Bank.
4. When the transaction is completed, you will receive the purchased proxies.
Step 3. Adding proxies to XLogin
The proxy format generated by IPOasis is compatible with XLogin. You only need to generate data on the IPOasis dashboard,copy and paste all the data into the browser.
1. Get IPOasis Proxies
First, log in to your IPOasis account and go to the proxy generator section.

2. Add IPOasis Proxies
Select the proxy location and the session type you need, then click on the Generate button. You will see a list of generated proxies.
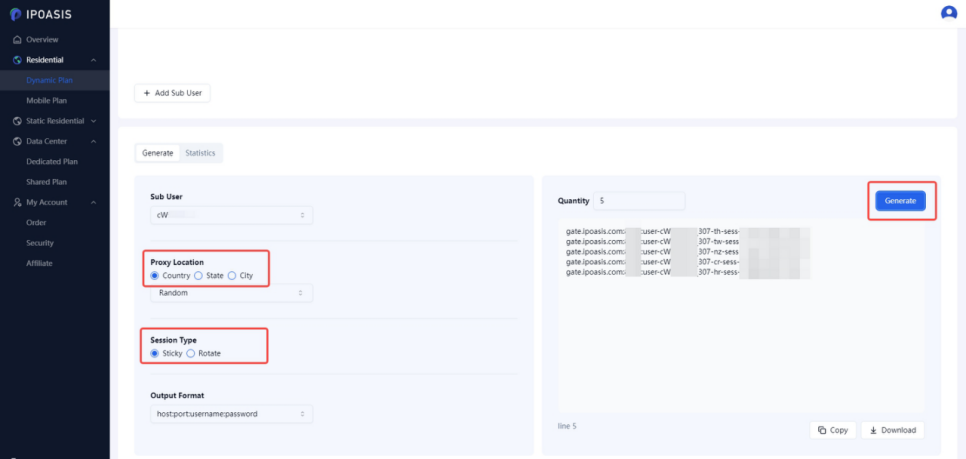
When you generate the standard format you will find that it is fully compatible with XLogin.All you need to do is copy the generated data into your browser.
3. Open XLogin and click [New Browser Profile]. (XLogin supports free test for new users)
(1) In the [Setting proxy server], turn on [Enable proxy server], select the proxy type;
(2) Enter the information extracted from IPOasis. If you have selected the Username:Password Authentication method, you also need to fill in the username and password;
(3) Test successfully, click to confirm and save it.

4. Launch the browser profile
Finally, click [Save profile], and then launch the browser profile.
Note: XLogin browser has no proxy IP service, users need to purchase proxy IP from a third party. Third-party platforms provide proxy-related tutorials and are not related to the XLogin. Users are strictly prohibited from using XLogin to engage in any illegal and criminal activities, and users are responsible for the relevant responsibilities caused by using XLogin.