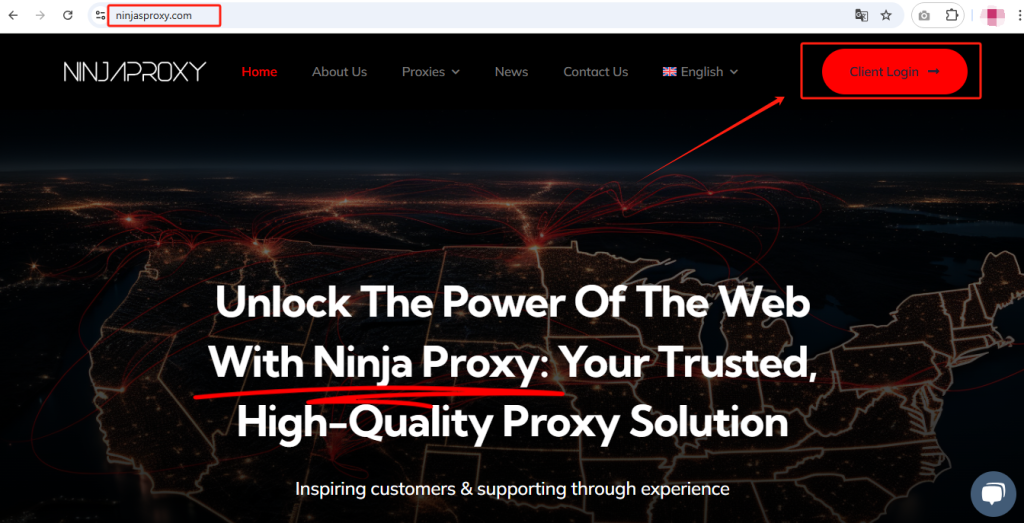
1. Go to NinjaProxy’s website and log in to your user dashboard.
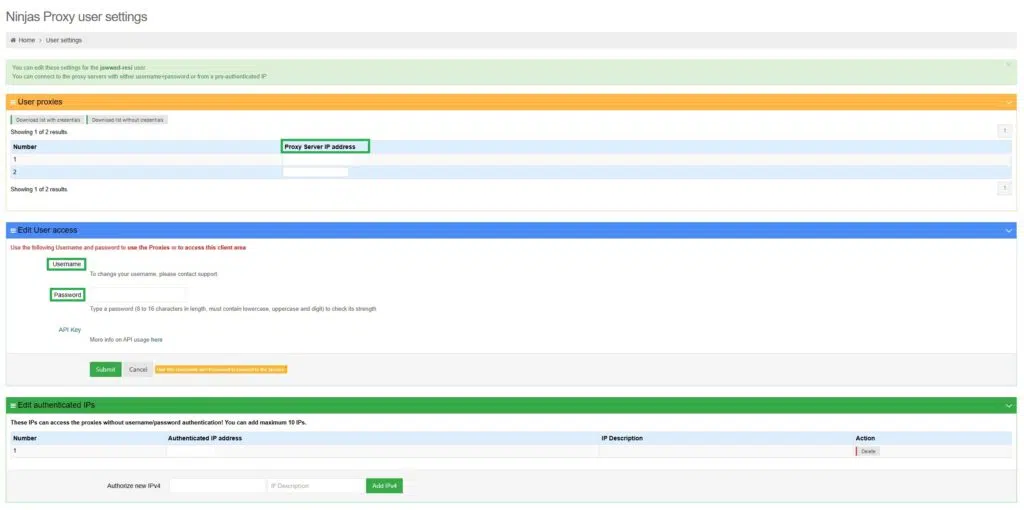
2. On the home page, there will be information about your proxy server’s IP address and port number. You need to copy both of them for the next steps. You also need the username and password to connect to the proxy server in XLogin.
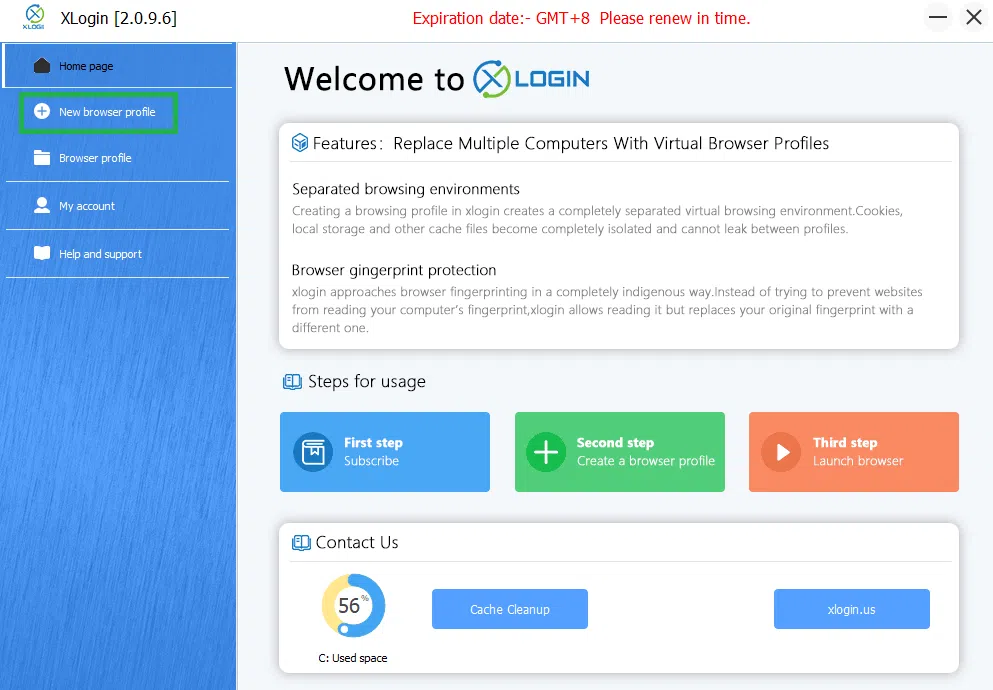
3. Download XLogin and install it. Register XLogin account and get a free trial from customer service.
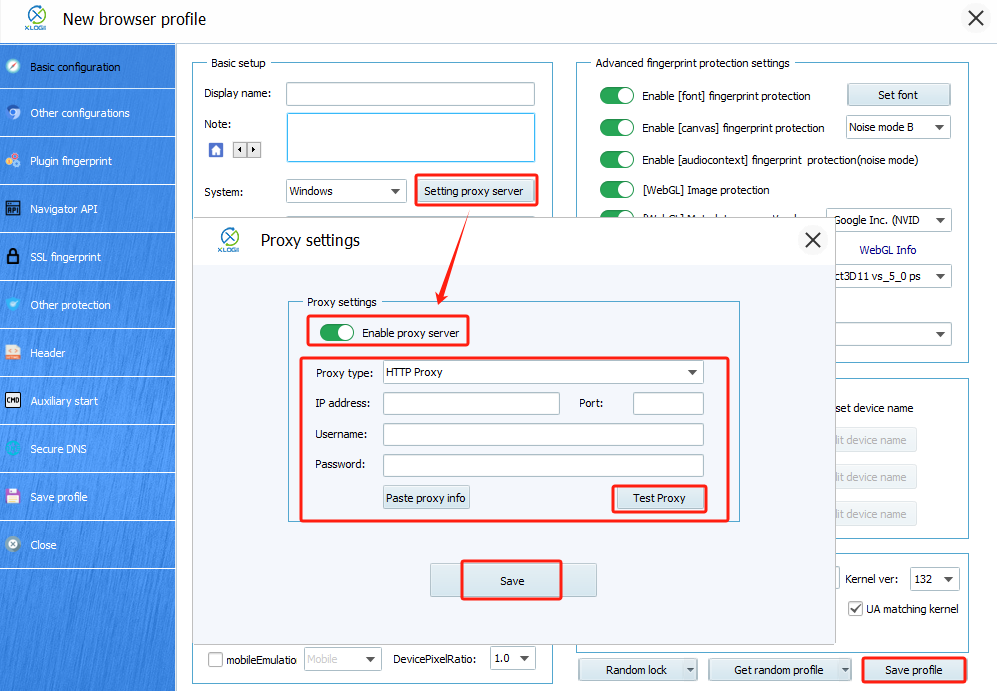
4. Click on New browser profile, then Setting proxy server - > Enable proxy server.
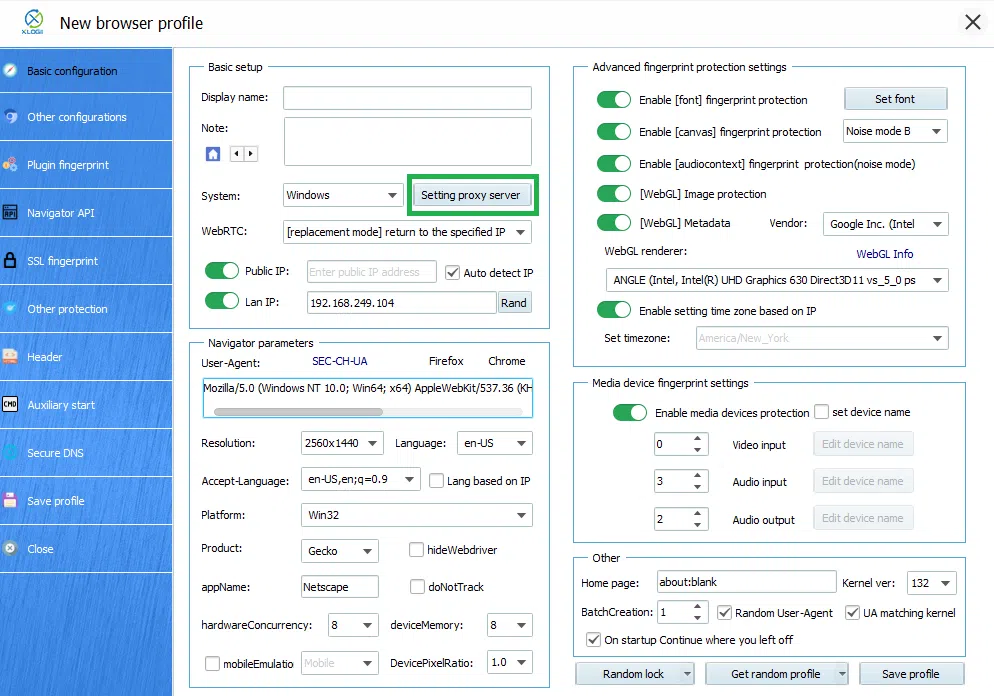
5. Enter the proxy server’s IP address, port number, your NinjaProxy username and password. Select HTTP/HTTPS as the proxy type.
6. Now, click on Text Proxy.
7. Click on Save to add the proxy server. And when all the configuration completed, click "Save profile", and then launch the browser. The proxy server is now ready for your use.
Note: XLogin browser has no proxy IP service, users need to purchase proxy IP from a third party. Third-party platforms provide proxy-related tutorials and are not related to the XLogin. Users are strictly prohibited from using XLogin to engage in any illegal and criminal activities, and users are responsible for the relevant responsibilities caused by using XLogin.