Step 1: Get the Proxy Info:
1. Visit the Swiftproxy dashboard and configure your proxies. We are using USA IPs with IP rotation mode turned on under HTTP/HTTPS protocol in this case.
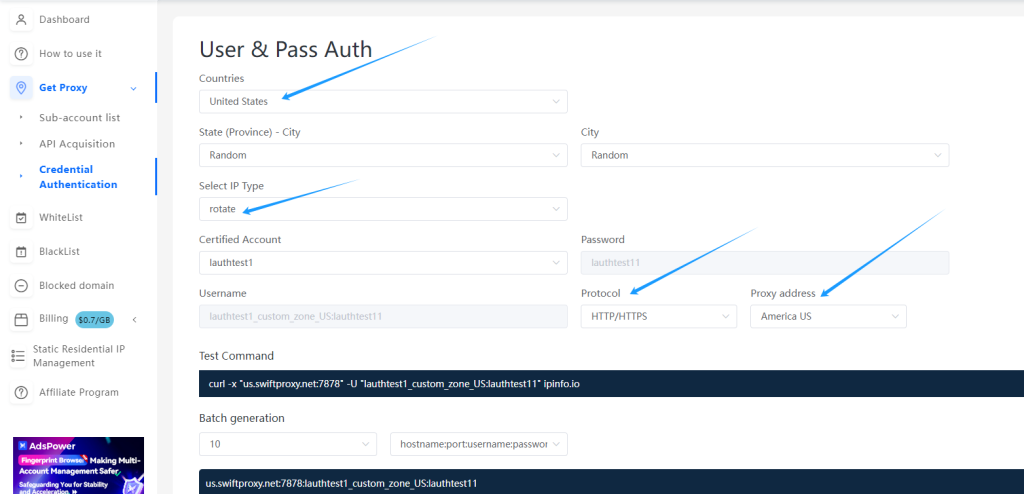
2. Copy the first proxy string here:

Step 2: Setting up Proxy in XLogin:
1. Download XLogin from the official website. (Support Free Trial)
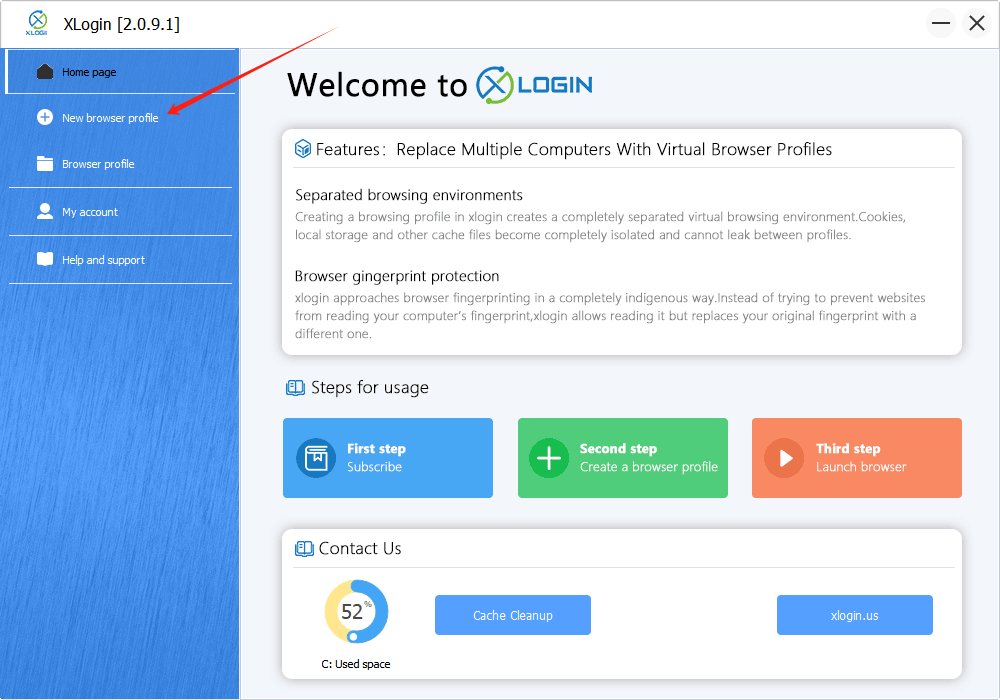
2. Launch the app, create an account, and log in.
3. Once log in, select "New Browser Profile" at the sidebar:
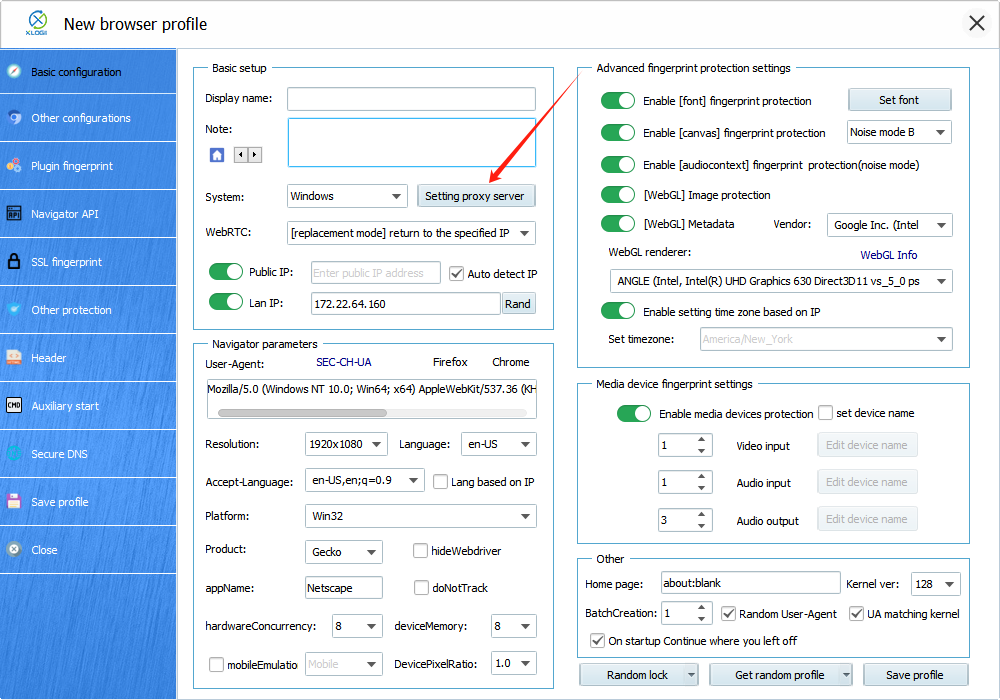
4. A new window will pop up afterwards, tap "Setting proxy server" button.
5. To get the proxy details from the Swiftproxy account dashboard:

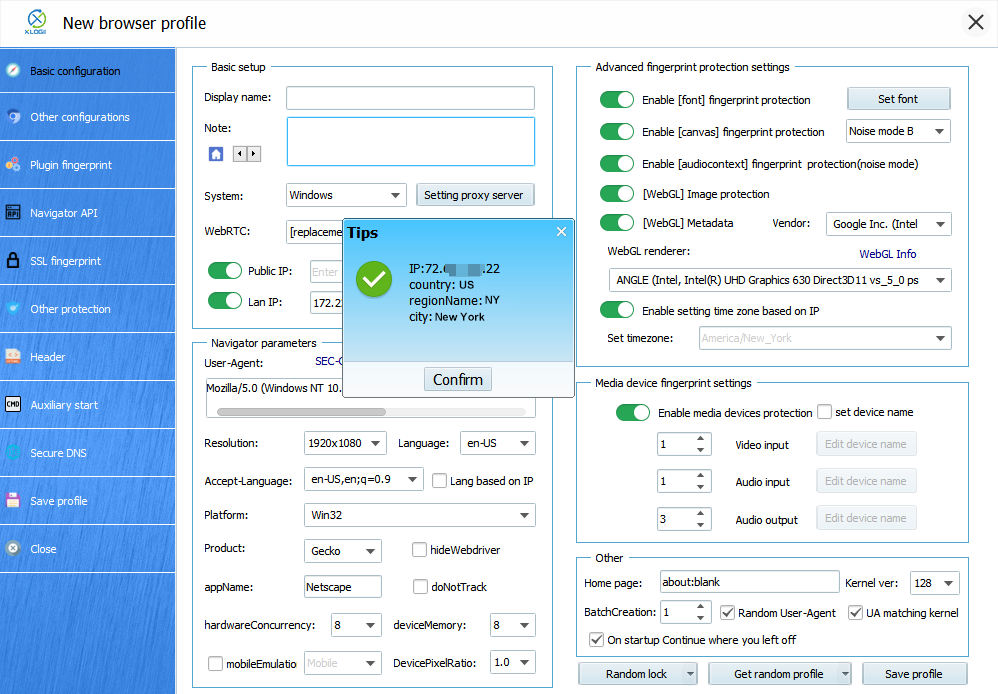
6. Paste the copied proxy string into its proxy setting then tap "Test Proxy" to see if the proxy is valid.
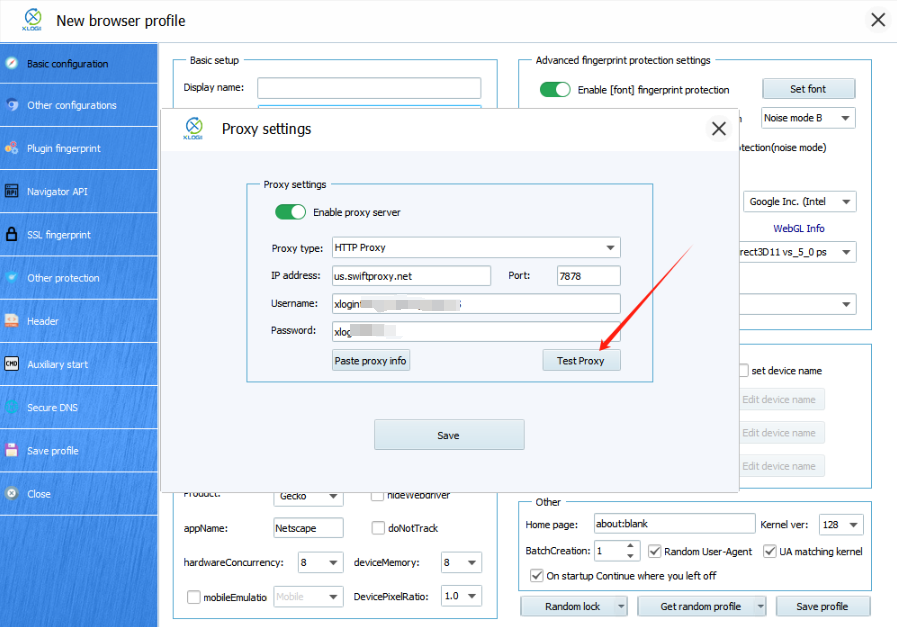
7. Here we see the connection is valid.
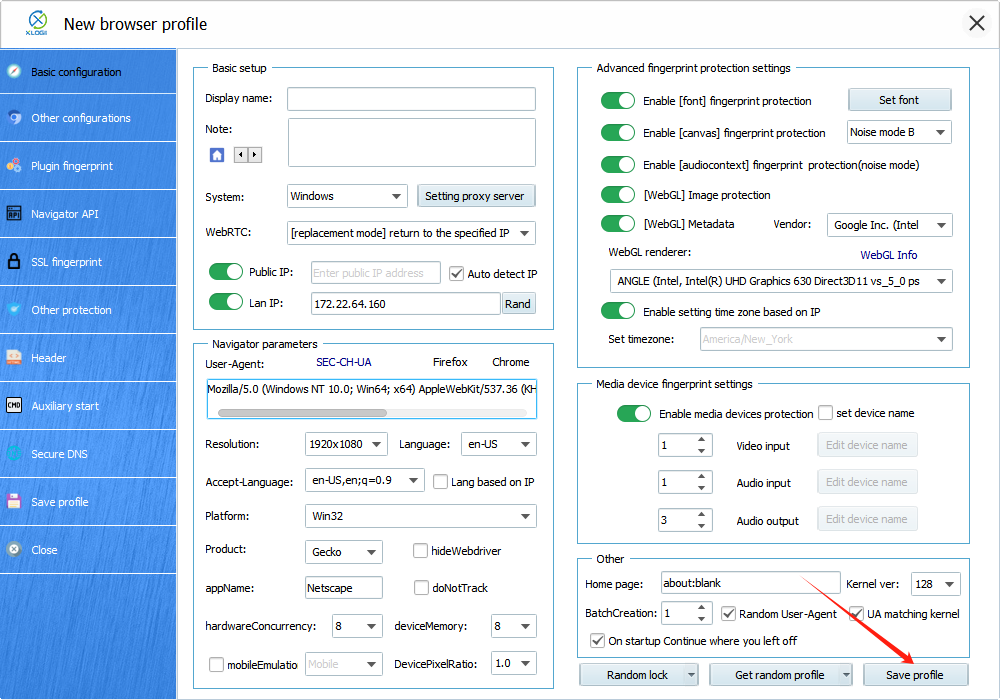
8. After setting up the proxy, we may now tap "Save profile" to finish setting up proxy in XLogin Anti-detect Browser.
Note: XLogin browser has no proxy IP service, users need to purchase proxy IP from a third party. Third-party platforms provide proxy-related tutorials and are not related to the XLogin. Users are strictly prohibited from using XLogin to engage in any illegal and criminal activities, and users are responsible for the relevant responsibilities caused by using XLogin.